How to Plan a Temporary Kitchen Remodel Without the Chaos
Kitchen demolition can make a normal morning feel impossible. The coffee maker moves to the bathroom, plates disappear into boxes, and every meal becomes a decision. A well-planned temporary kitchen remodel gives you a working place to store food, prepare meals, wash dishes, and keep daily life moving.
The setup doesn't need to copy your finished kitchen. It needs a practical location, safe power, useful appliances, and a plan that matches the construction schedule. Start with the work timeline, then build the temporary station around how your household actually eats.
Set the schedule before you pack the first cabinet
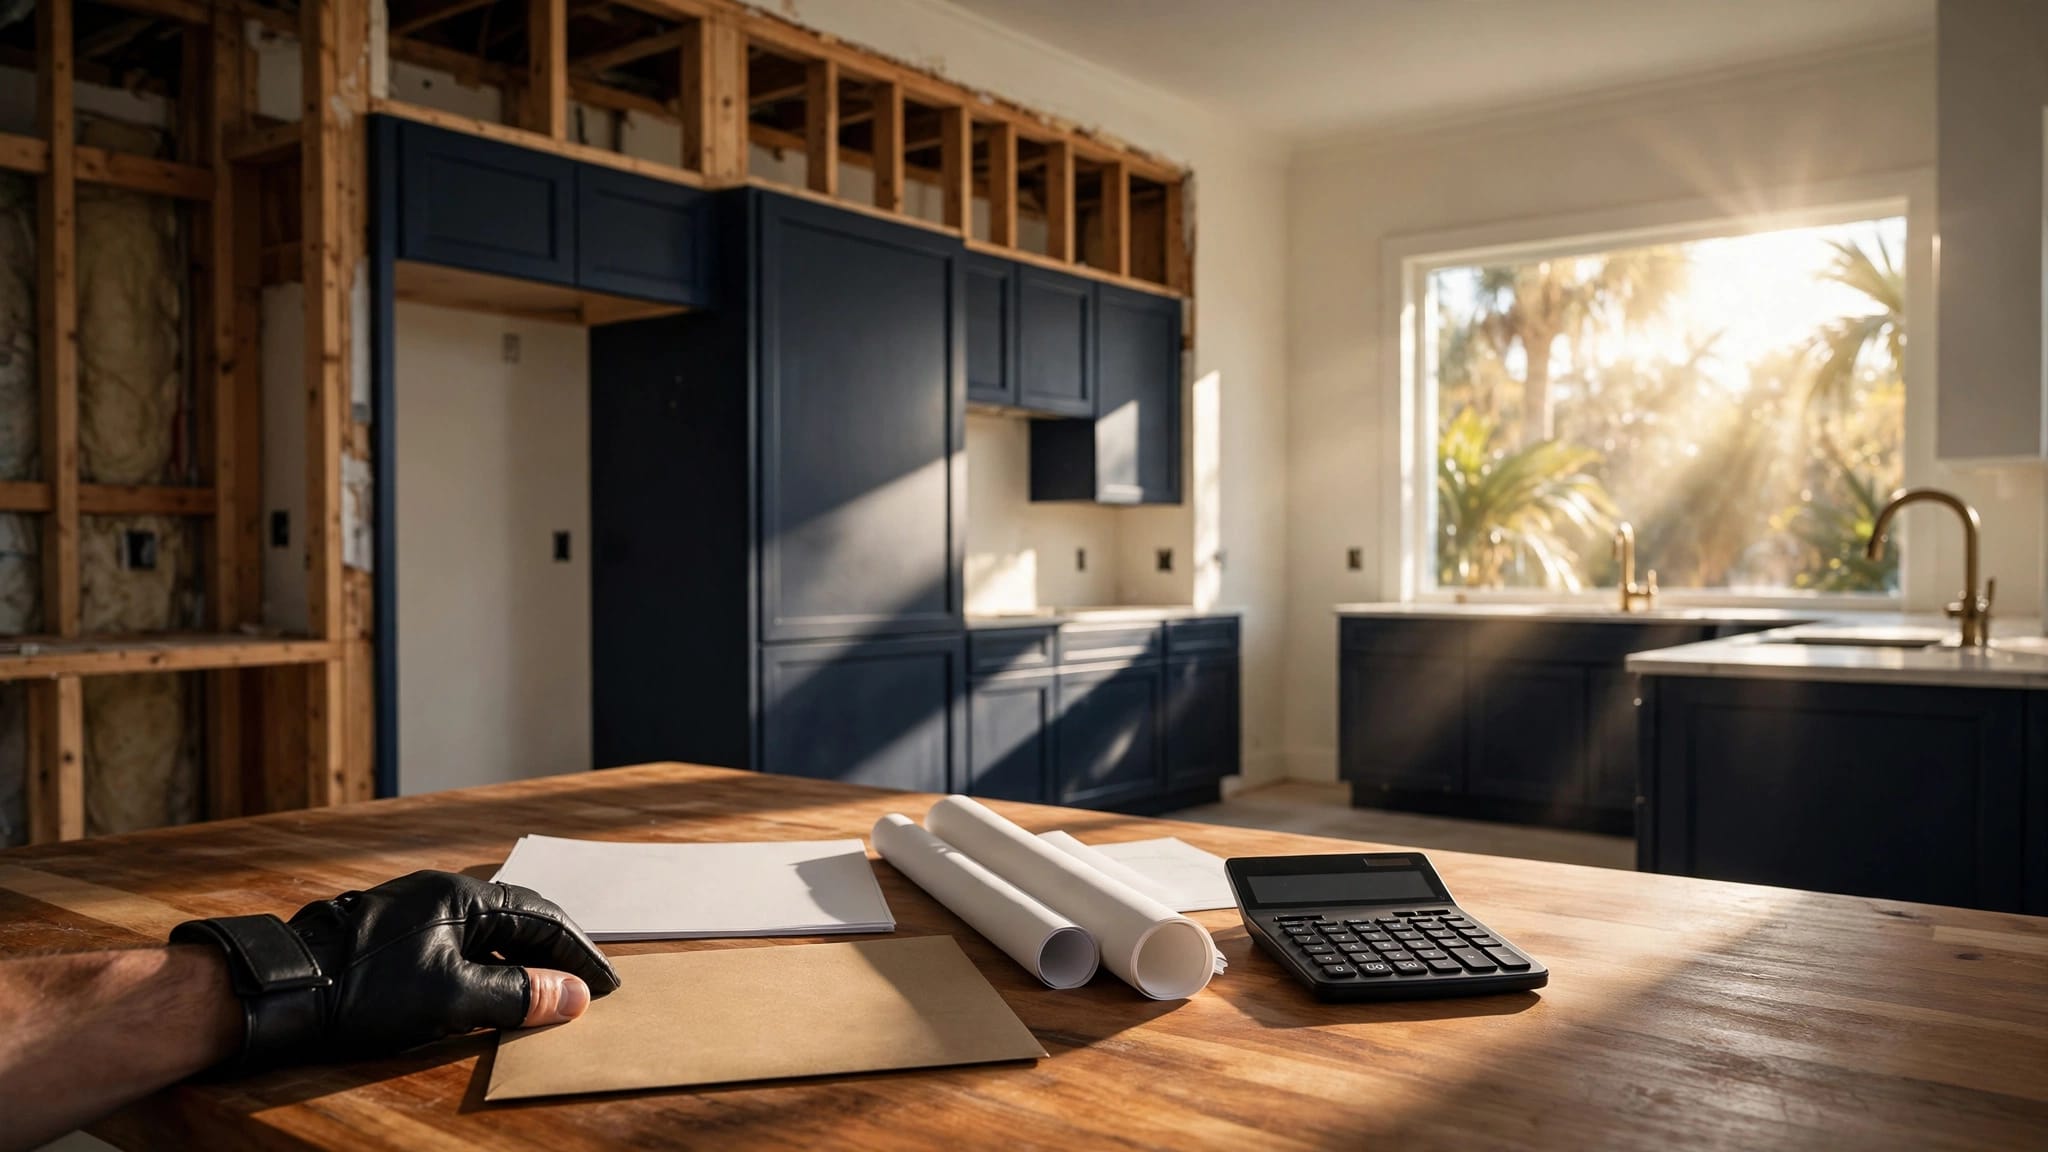
Before moving appliances, ask your remodeling contractor for a clear sequence of work. Find out when demolition starts, when water and electricity may be unavailable, and when workers need full access to the kitchen. A short plumbing interruption requires a different plan than several weeks without a sink or refrigerator.
Also confirm whether the project includes structural changes, new electrical circuits, or flooring that must run under the cabinets. Those details affect where you can place stored items and how long the temporary station will remain in use. In Southwest Florida, material deliveries, humidity, storms, and exterior door access may also affect the schedule.
Choose the size of your temporary kitchen based on the expected work period:
- For a few days, keep coffee, breakfast foods, bottled water, and ready-to-eat meals together.
- For a week or more, add a refrigerator, microwave, prep surface, and dishwashing plan.
- For a longer project, create a more complete station with a cooktop, storage shelves, and a dedicated place for cookware.
Put the construction calendar on the refrigerator or family message board. Mark demolition, inspections, cabinet delivery, countertop templating, and appliance installation as those dates become available. You won't have to guess when to buy groceries or move the setup again.
A temporary kitchen remodel works better when everyone knows which appliances can be used and which rooms are off-limits. Ask your builder how dust barriers, daily cleanup, and worker access will affect the route through your home.
Pick a location that keeps work and home separate
The best location is close enough for convenience but outside the construction zone. A dining room corner, laundry room, enclosed porch, or spare room can work if it has a level floor, a safe outlet, and enough ventilation. Avoid placing appliances in a narrow hallway or beside a door that workers use to carry cabinets and materials.
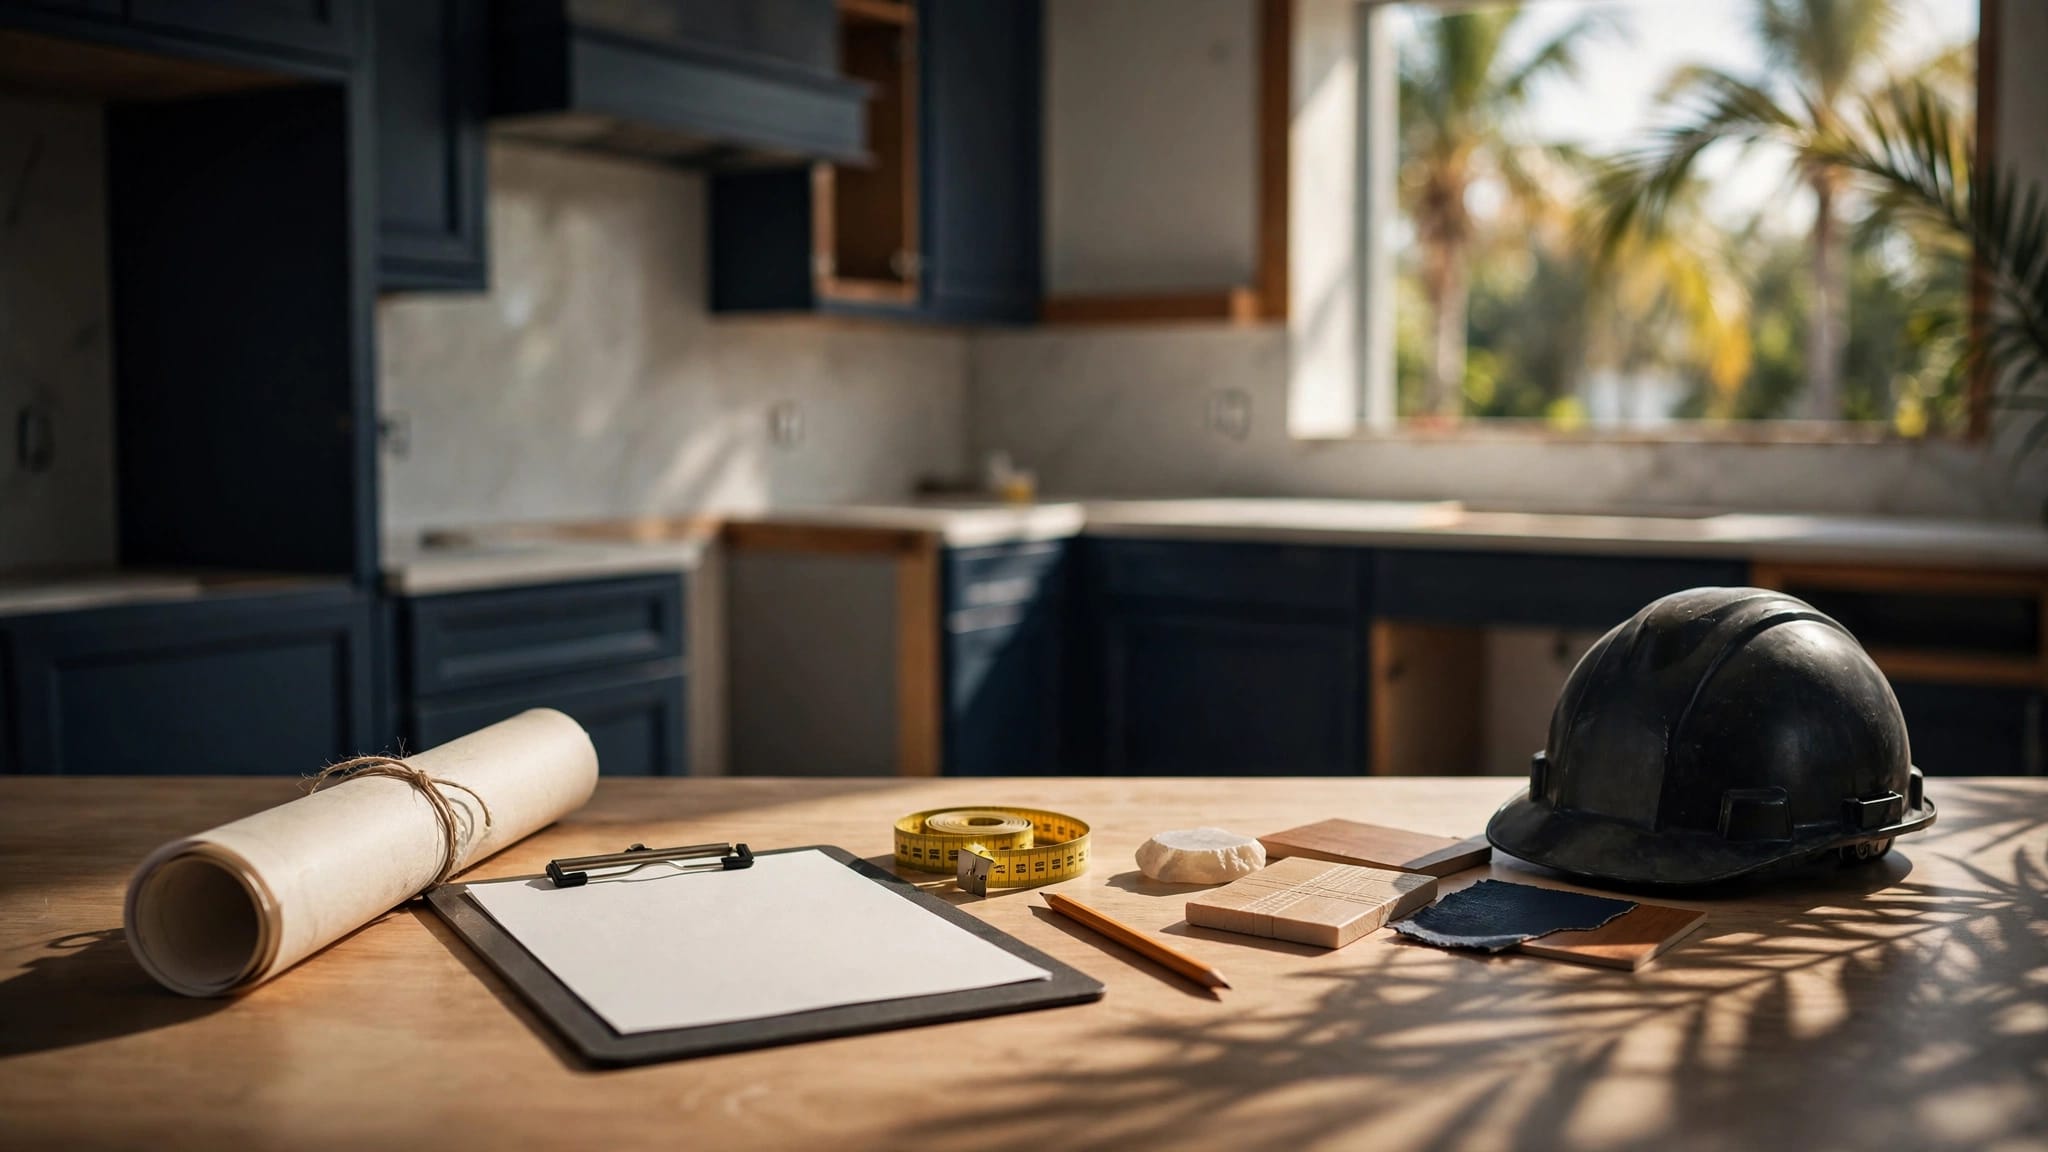
Measure the table, refrigerator, and walking space before moving anything. Leave room for someone to open the refrigerator and step back without blocking the main path. Keep the station away from sawdust, wet grout, paint, and open wall cavities.
A folding banquet table provides a useful prep surface, while a small shelving unit keeps plates and dry goods off the floor. Put a washable mat under the coffee maker and microwave. Protect the flooring with a suitable floor-covering product approved for the surface. Plastic sheeting alone can tear and create a slipping hazard where water may spill.
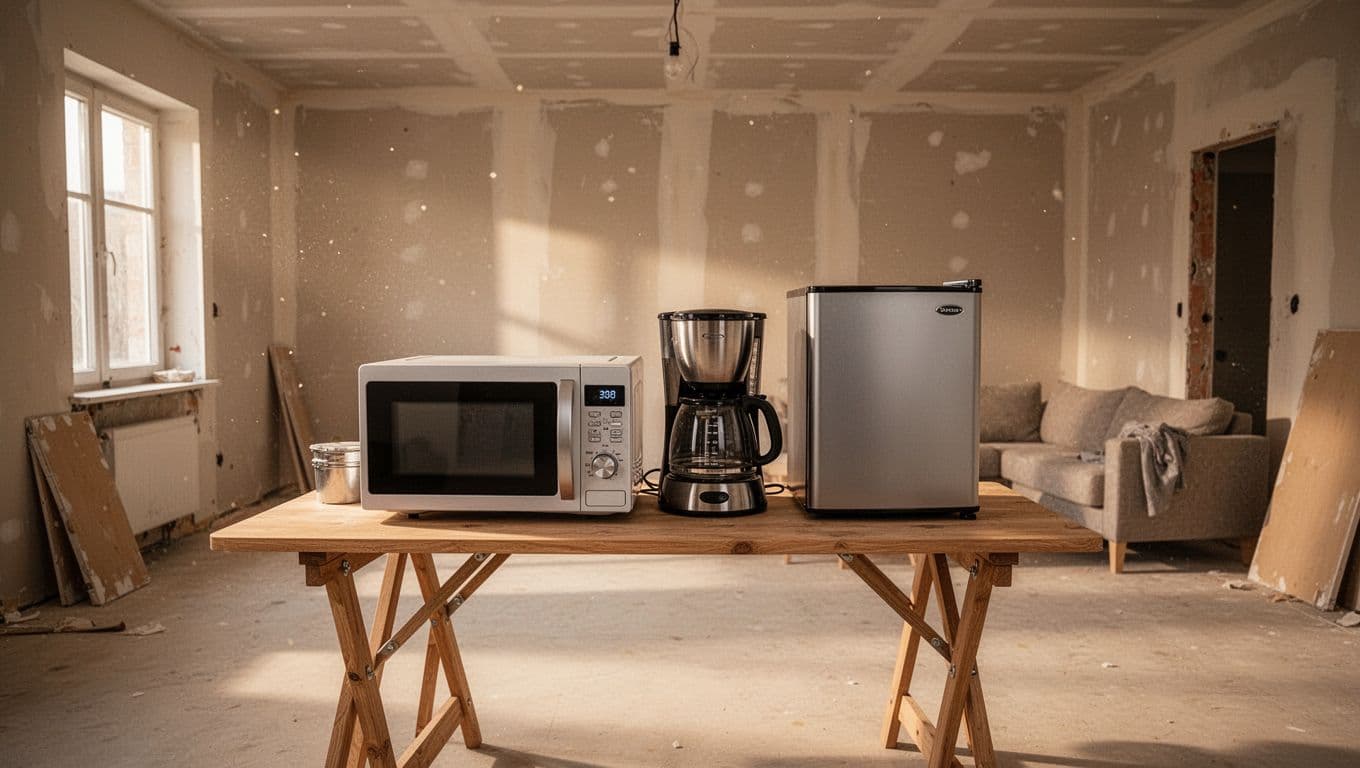
Place trash and recycling bins near the setup, but outside the food-prep area. Keep paper towels, dish soap, and cleaning supplies in a closed container so construction dust doesn't settle on them. A nearby lamp helps when workers disconnect the room's normal lighting.
Build the temporary kitchen around four essential functions
Start with cold storage, heating, preparation, and cleanup. You may not need every appliance, but you need a reliable way to handle each function. A temporary kitchen remodel needs a different appliance mix than the finished room because convenience matters more than appearance during construction.
A compact refrigerator handles milk, produce, leftovers, and medication that requires refrigeration. If you already own a second refrigerator, check its condition and location before moving it. A full-size refrigerator can work in a temporary space, but its doors need clearance and its circuit must support the appliance.
For heating, a microwave covers reheating and many frozen meals. A toaster oven can handle toast, small casseroles, and roasted food, but it produces heat around the appliance. Set it on a stable, noncombustible surface with the clearance listed in its manual.
A portable induction cooktop adds more control for pasta, eggs, or soup. It needs compatible magnetic cookware and a surface that won't wobble. An electric kettle or slow cooker may also help, depending on the meals your household prepares most often.
Keep food preparation simple. A large cutting board, one sharp chef's knife, a can opener, measuring cups, and several storage containers cover more meals than a crowded counter full of gadgets. Store knives in a closed drawer or holder, especially if children visit the home.
For dishes, use a bus tub or plastic basin beside a utility sink, laundry sink, or bathroom sink, depending on your contractor's rules. Don't wash greasy cookware where it can clog a small drain. Ask before connecting any temporary appliance to a water line or drain.
A practical setup usually includes:
- A microwave, coffee maker, electric kettle, or slow cooker selected around your regular meals.
- One refrigerator or cooler with a reliable source of cold storage.
- A folding table or cart with a surface that can handle heat and moisture.
- Plates, bowls, cups, utensils, cookware, paper towels, dish soap, and garbage bags.
- A lamp or battery light if construction affects the room's normal lighting.
Keep frequently used items between waist and shoulder height. Put backup paper goods and rarely used cookware on a higher shelf. That small adjustment reduces daily bending and keeps the work surface open.
Plan meals, shopping, and cleanup before demolition
A temporary kitchen becomes frustrating when every meal requires a new trip to the store. Plan foods your household already eats, then choose meals that match the appliances available. Breakfast might rely on oatmeal, yogurt, fruit, eggs, or toast. Lunches can include sandwiches, salads, leftovers, or microwaveable dishes. Dinner options depend on whether you have a cooktop, toaster oven, grill access, or only a microwave.
Make one shopping list for shelf-stable foods and another for refrigerated items. Buy smaller amounts more often if refrigerator space is limited. Clear bins can separate breakfast foods, snacks, baking supplies, and dinner ingredients. Labeling them helps when several family members share the setup.

For food safety, keep the refrigerator at 40°F or colder and the freezer at 0°F, as recommended by the U.S. Department of Agriculture. Don't leave perishable food beside a running demolition area. A cooler can fill the gap during an appliance move, but monitor its temperature instead of relying on ice alone.
Set up cleanup before the first meal. A basin for dirty dishes, a drying rack, disinfecting wipes, and a separate bag for food waste prevent clutter from spreading. Keep a broom and dustpan nearby, but store them outside the food-prep area so construction debris doesn't reach a clean surface.
Protect your family, appliances, and construction work
Safety should shape the layout. High-wattage appliances such as microwaves, toaster ovens, and induction cooktops can overload a circuit when they run together. Plug them into properly grounded outlets according to each manufacturer's instructions, and ask an electrician or your contractor about the circuit before adding several appliances.
Don't use a damaged cord, a loose outlet, or a power strip that isn't rated for the appliance. Keep cords away from sinks and walking paths. Never use a charcoal grill, propane camp stove, or other outdoor cooking equipment inside the house, garage, or enclosed porch.
Dust protection matters as well. Store food in sealed containers, cover the temporary counter at the end of each workday, and keep the setup beyond the contractor's dust barrier. If workers need to pass through the room, move the table before it becomes an obstacle.
Children and pets need a separate rule. Keep knives, cleaners, hot appliances, and cords out of reach. Close doors or use a gate when the work area is active. Smoke alarms and carbon monoxide alarms should stay installed and unobstructed.
A temporary kitchen remodel also needs a communication plan. Decide where the family will find daily updates, who can approve a change, and how you'll report a leak, damaged appliance, or blocked path. Clear decisions help prevent small problems from becoming construction delays.
Coordinate the setup with your remodeling contractor
Share your temporary kitchen plan before demolition. Your contractor can identify outlets that may lose power, sinks that workers need, doors that must stay clear, and surfaces that shouldn't carry appliance weight. The crew may also suggest a better location based on dust control and material delivery.
Ask for expected dates for demolition, rough plumbing, electrical work, cabinet installation, countertop work, and final appliance connections. Schedules can shift, so keep a small reserve of shelf-stable meals. Avoid packing every backup appliance away until the new kitchen has passed its final inspection.
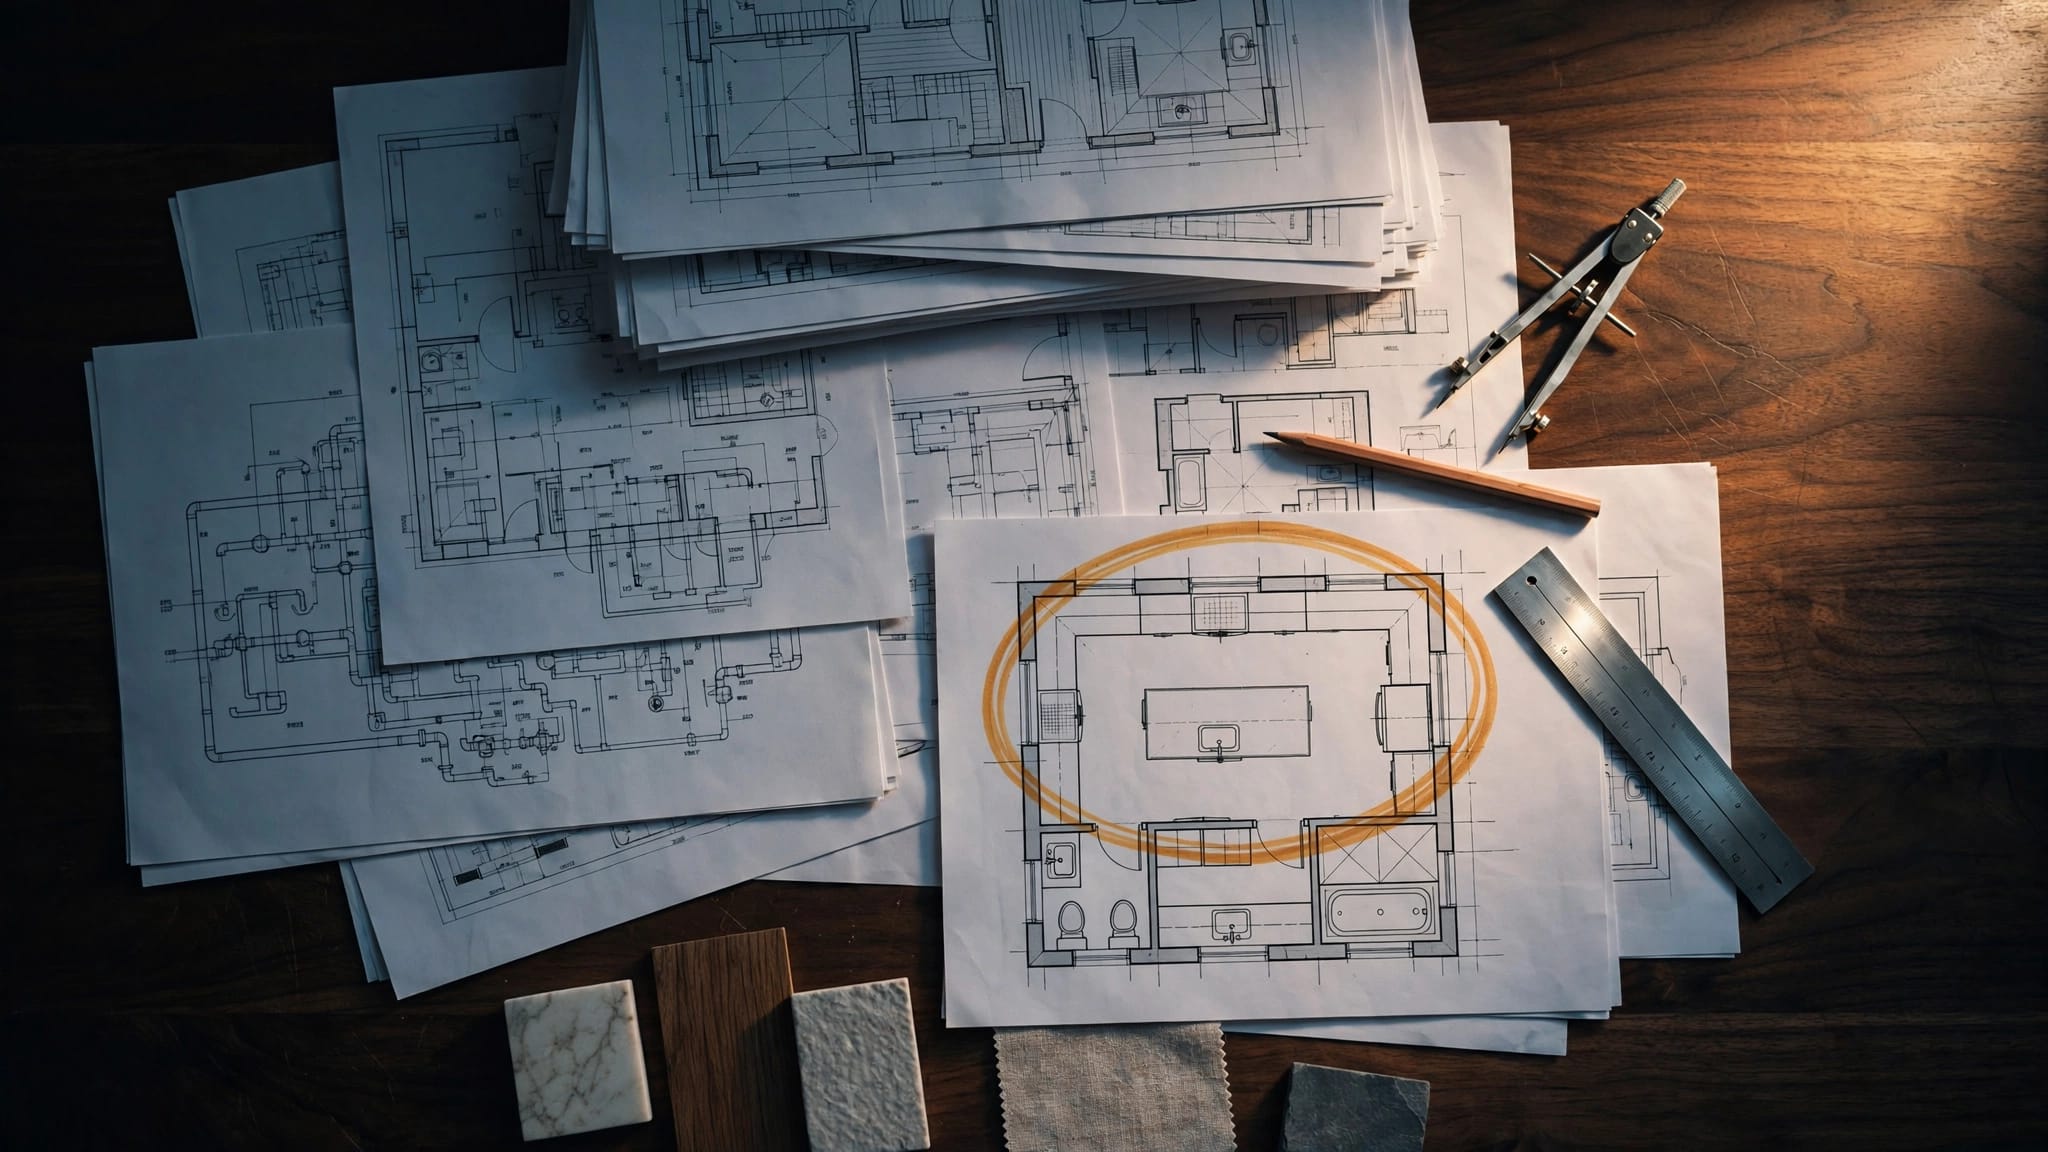
If you're comparing layouts, cabinet styles, or appliance locations, review what to expect in a kitchen remodel before construction begins. A good design plan accounts for both the finished room and the weeks required to build it.
For homeowners in Cape Coral, Fort Myers, Naples, Punta Gorda, or Sanibel, kitchen remodeling services can connect the temporary setup to the larger design. Discuss the project in person so the temporary station supports the actual scope of your remodel.
Make the move back into your new kitchen deliberate
Wait until your contractor confirms that cabinets, counters, flooring, paint, and appliance connections are ready for normal use. Construction dust can remain after the crew leaves, so clean shelves and drawers before returning food, dishes, and cookware.
Bring back the items you use every day first. Check that refrigerator doors open fully, outlets are accessible, cabinet hardware feels secure, and plumbing fixtures drain without leaks. Return less-used equipment after you know how much storage the finished kitchen provides.
Use the transition to remove duplicate utensils, expired food, and appliances you never use. The temporary setup often shows which items your household needs within easy reach.
Conclusion
A comfortable temporary kitchen remodel starts with a realistic construction schedule and a location outside the work zone. Choose appliances around your meals, plan dishwashing and food storage early, and treat electrical, dust, and child safety as part of the design.
The goal is a dependable daily station, not a second finished kitchen. With the right plan and regular communication with your builder, you can keep meals moving while the permanent kitchen takes shape. If you're ready to discuss the project, request a Get a Free Estimate for your remodeling or construction plans.