Remodeling Final Walkthrough Checklist for Southwest Florida Homes
A remodeling final walkthrough is your last practical chance to catch unfinished details before the crew leaves and the project closes. Small issues, such as a misaligned cabinet door or a loose faucet, are easier to correct while the contractor and tradespeople still have the project in front of them.
Your walkthrough should cover appearance, function, safety, cleanup, paperwork, and any work affected by Southwest Florida's humidity, salt air, and severe weather. Use this checklist whether you've completed a kitchen remodel, bathroom renovation, room addition, or custom home build.
Prepare Before the Walkthrough Begins
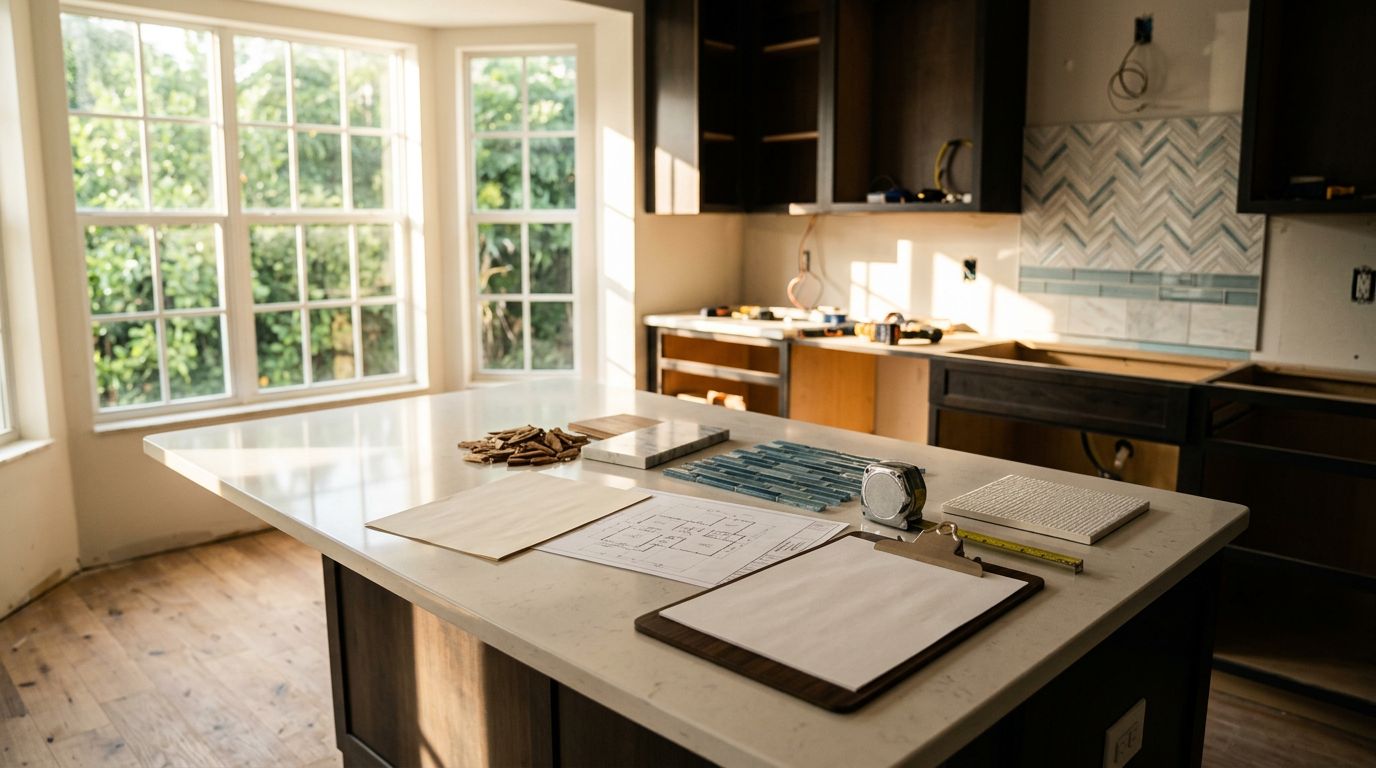
Start with your contract, plans, selections, change orders, and any written scope of work. These documents provide the standard for your inspection. A feature that looks different from your original idea may still match the approved plan, while an omitted item deserves attention.
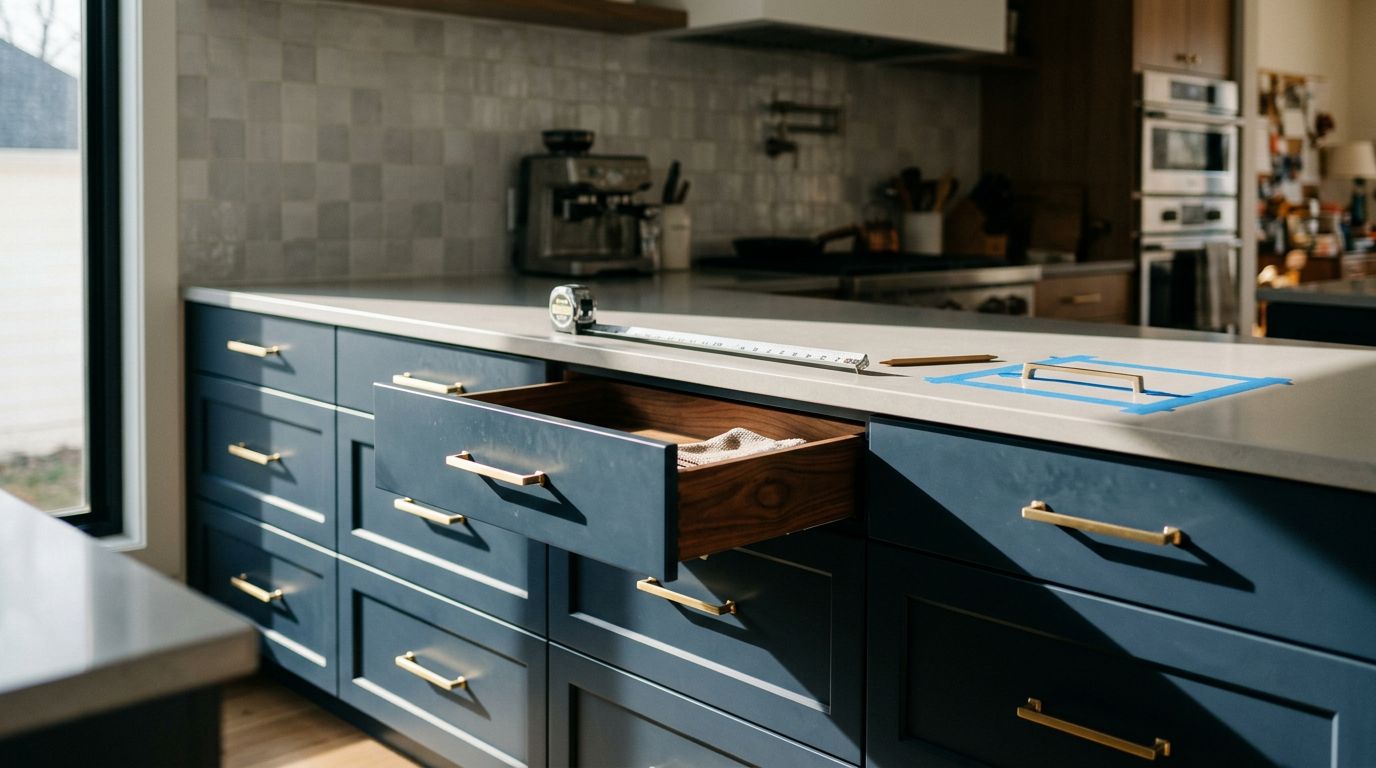
Bring your phone, a small flashlight, painter's tape, and a notebook. Take photos of concerns and place a small piece of tape near each location. Marking the exact spot helps the contractor create a clear punch list.
Review the expected completion date and payment terms before the meeting. Your contract should explain how incomplete work, corrections, warranties, and final payment are handled. If you're preparing for a kitchen project rather than completing one, this Southwest Florida kitchen renovation guide can help you understand the decisions that lead to this final stage.
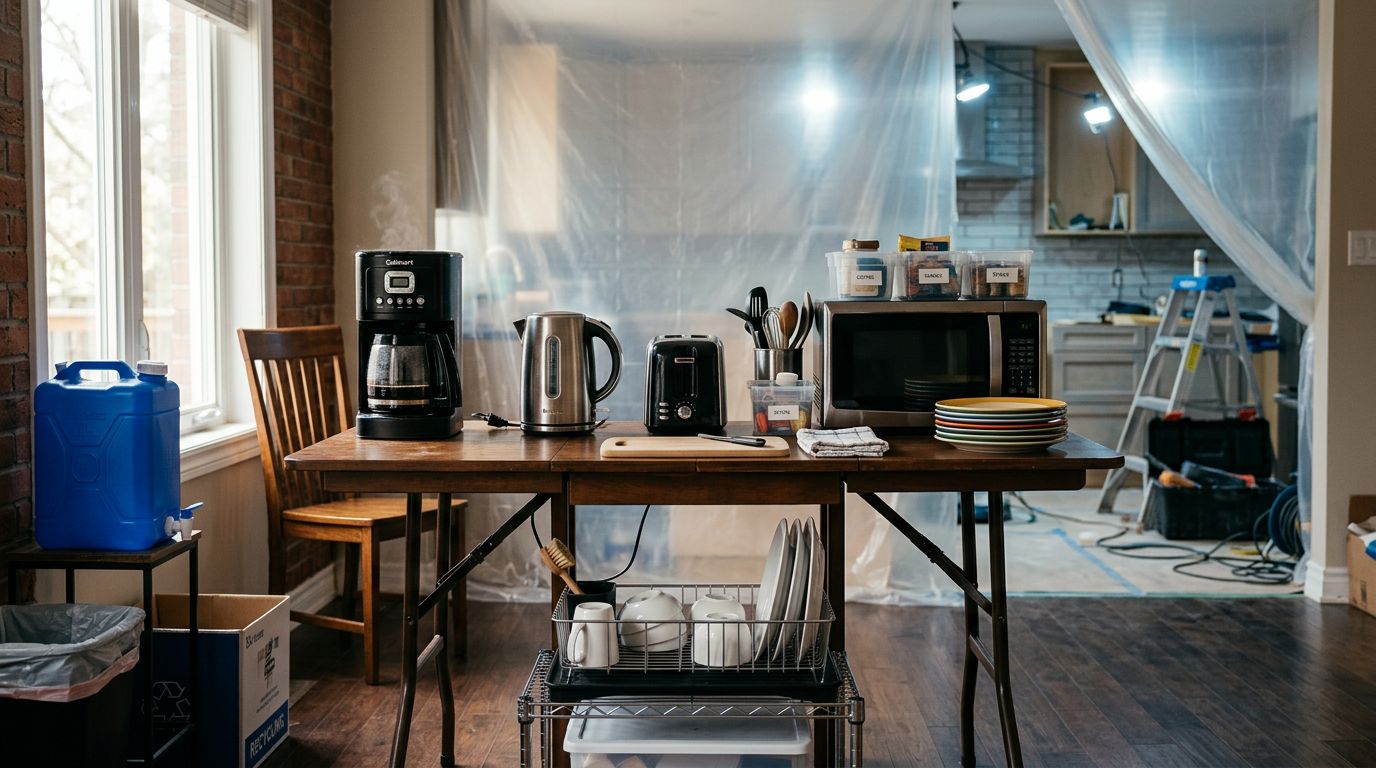
The space should be reasonably clean and safe to inspect. Construction dust may remain in hidden areas, but loose debris, exposed wiring, sharp materials, and unprotected openings need immediate attention.
What to Check During a Remodeling Final Walkthrough
Walk through each room slowly instead of viewing the project from the doorway. Start at the ceiling and move down the walls, cabinets, fixtures, floors, and trim. Then test anything that opens, closes, turns on, drains, locks, or moves.
Kitchen remodeling checklist
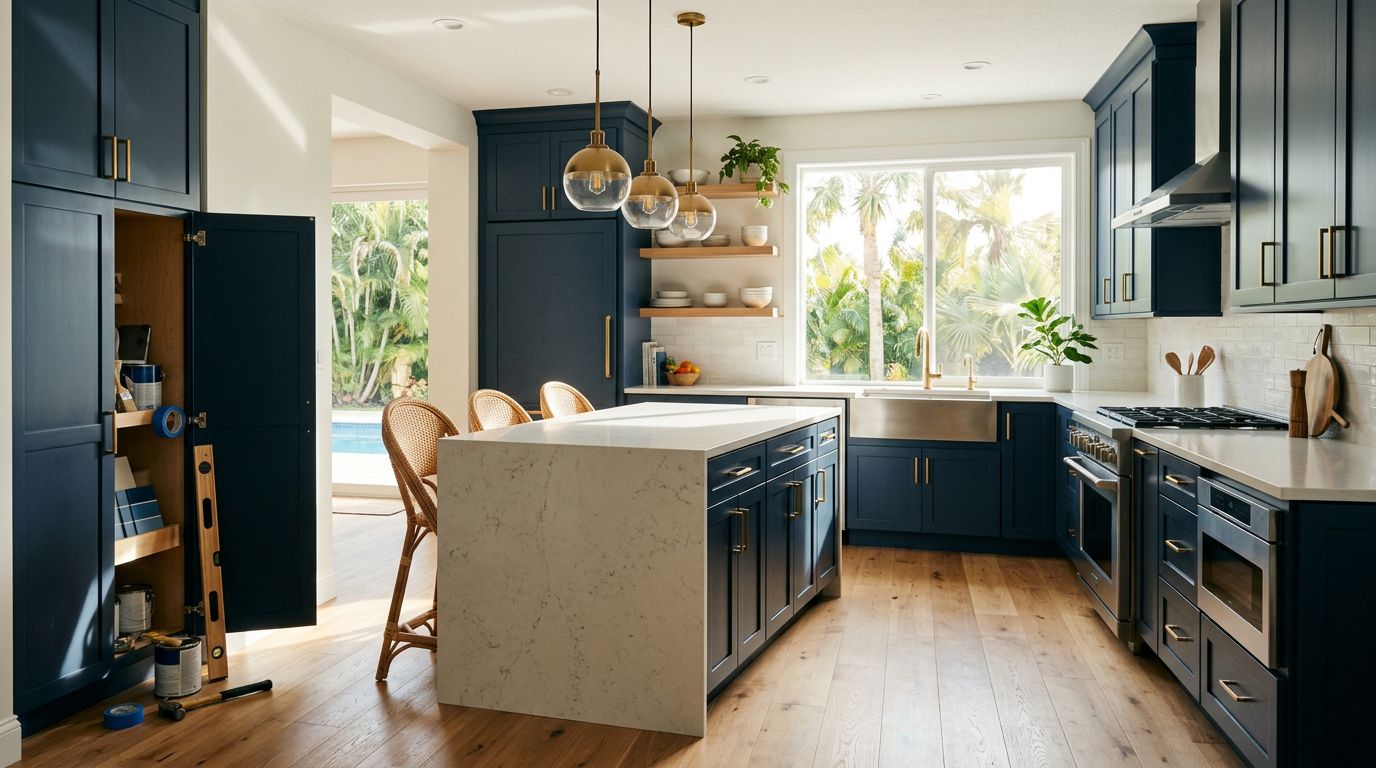
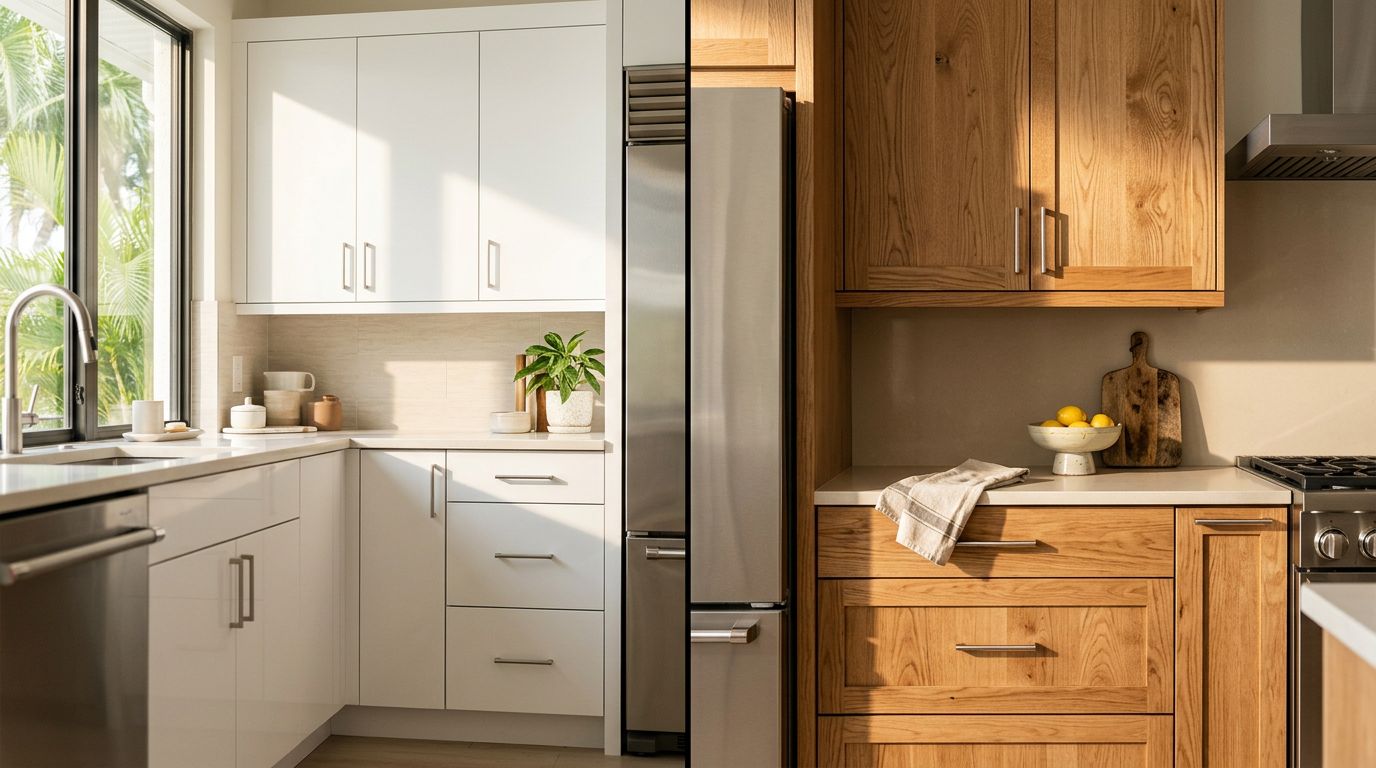
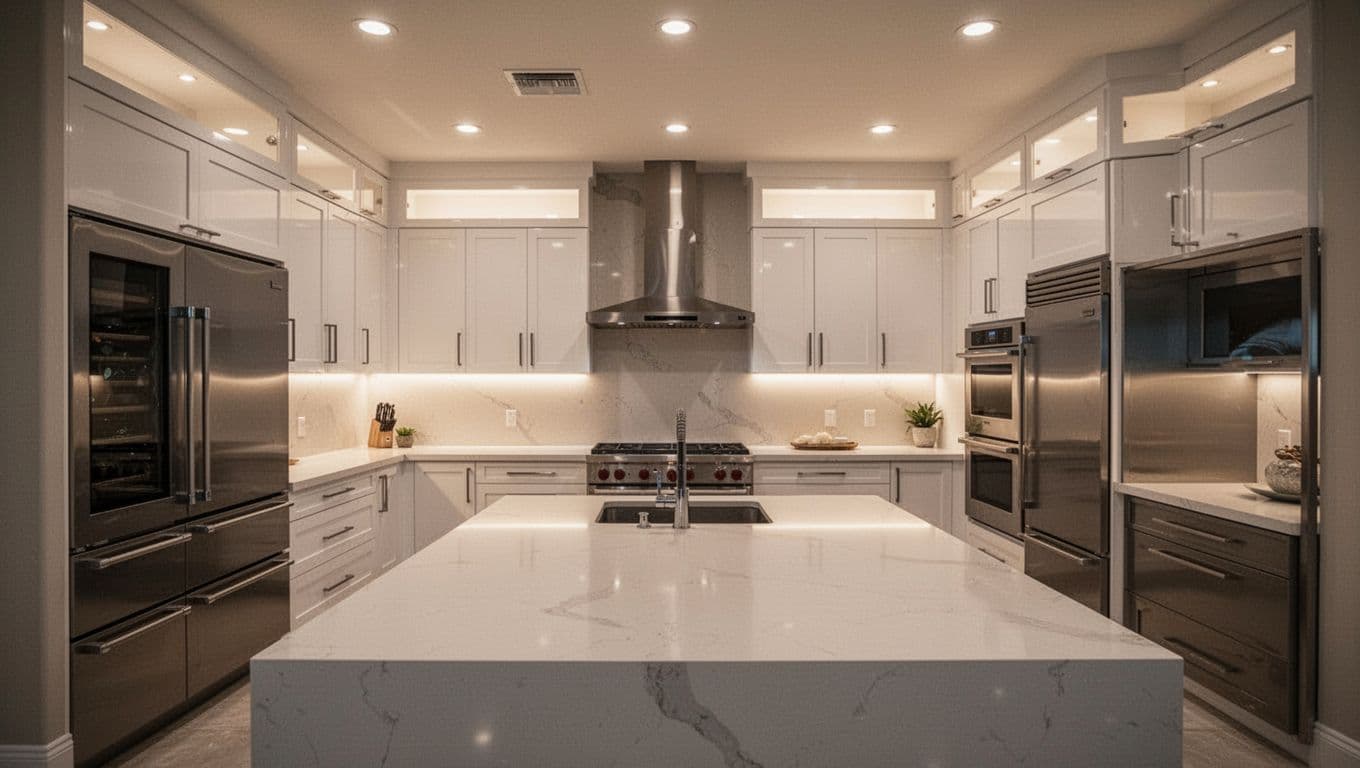
Begin with the cabinetry. Open every door and drawer, including corner units and pull-outs. Look for even gaps, smooth operation, secure hinges, consistent hardware placement, and doors that stay open or closed as intended.
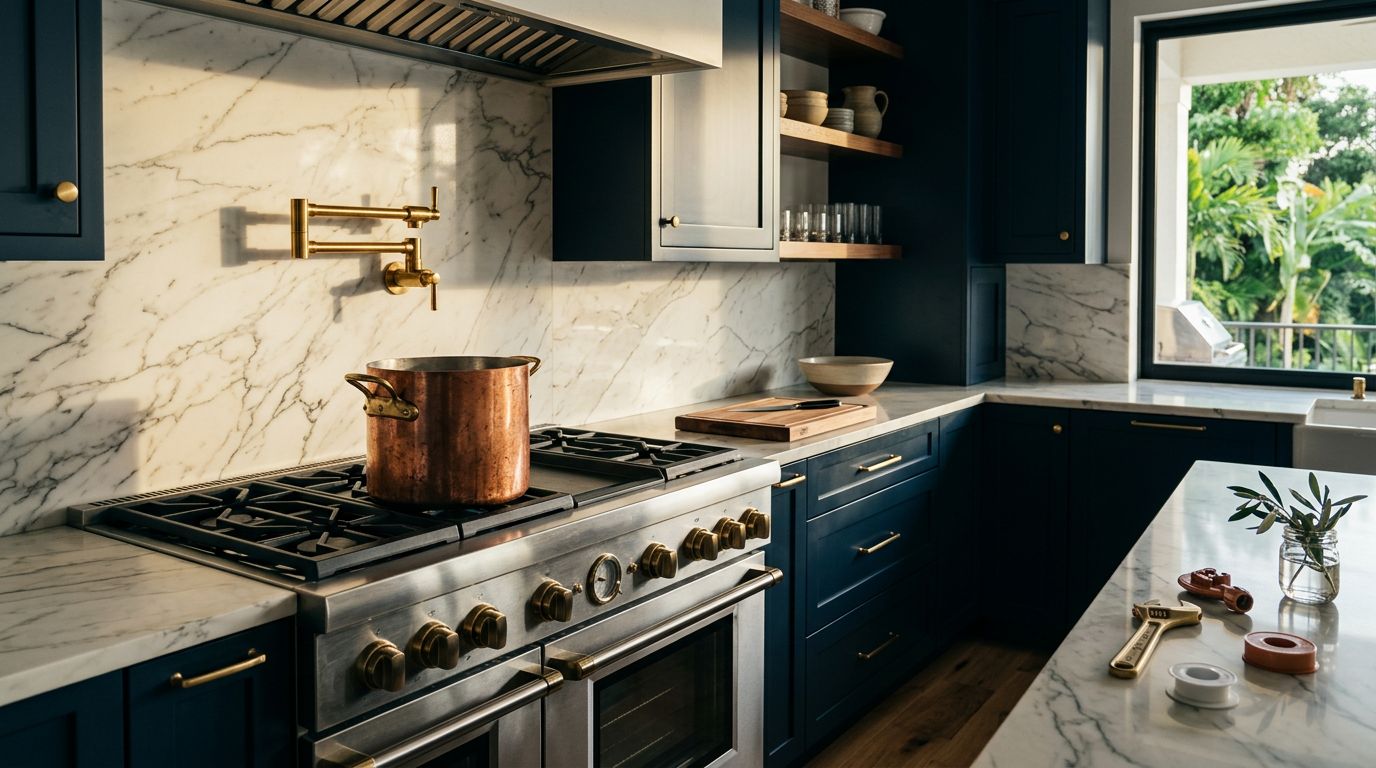
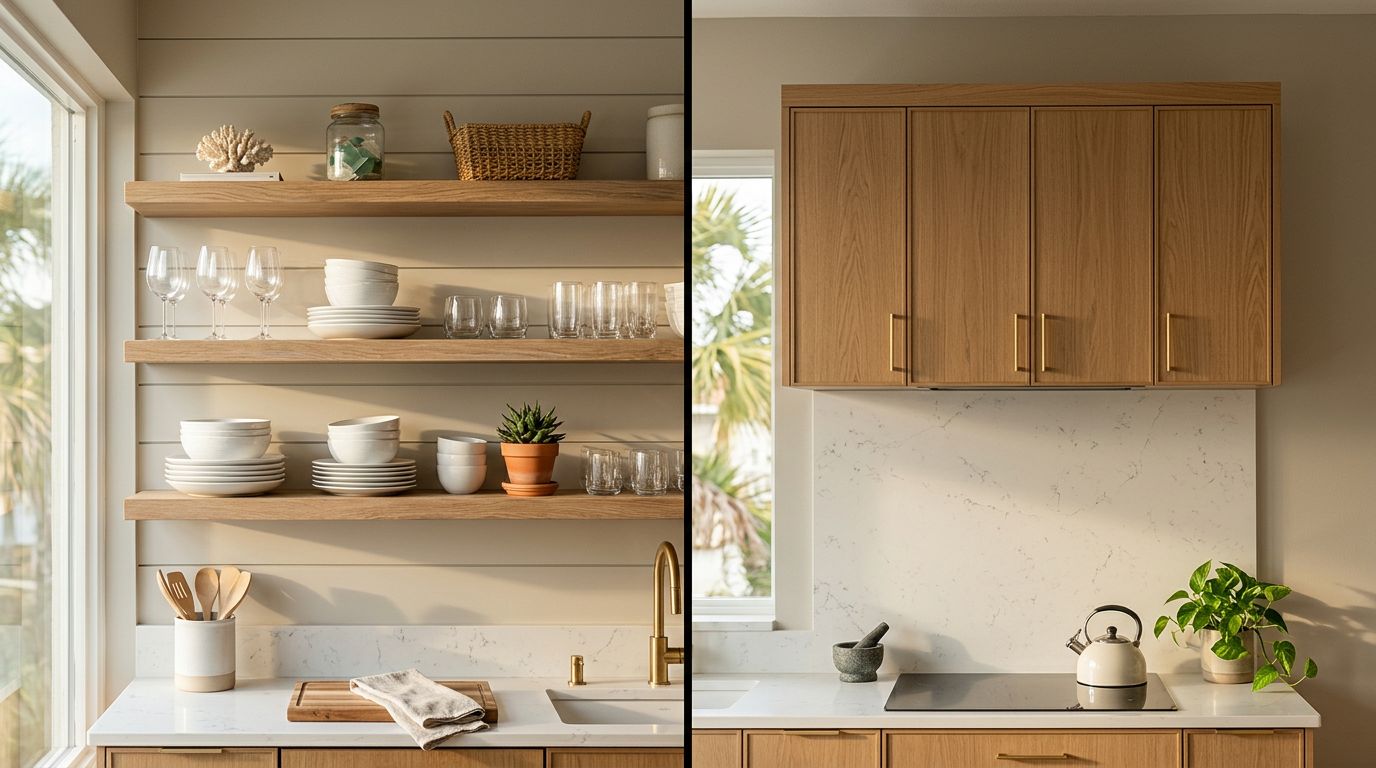
Inspect the countertops under direct light. Seams should be neat, edges should match the approved profile, and the surface shouldn't rock or shift. Check the backsplash for cracked tile, uneven spacing, loose pieces, incomplete grout, or rough caulk at countertop and wall joints.
Turn on each light and switch. Test under-cabinet lighting, pendants, dimmers, outlets, and any USB or appliance receptacles. A qualified electrician should address electrical concerns, especially around sinks and other wet areas.
Run the plumbing at the sink and check below the cabinet for leaks. Operate the faucet sprayer, garbage disposal, dishwasher, ice maker line, and water filter if they are part of the project. Confirm that the range hood operates and vents according to the approved plan.
Test each appliance using its basic functions. The oven should heat, the cooktop should respond correctly, and the dishwasher should fill, drain, and close without rubbing against nearby cabinets. Record model numbers and keep the manuals together.
Bathroom remodeling checklist
Bathroom tile deserves a careful inspection because water reaches these surfaces every day. Look for cracked tile, hollow-sounding pieces, uneven grout lines, missing grout, and unfinished edges around niches, benches, and corners.
Run the shower and tub long enough to check water pressure, temperature, drainage, and the direction of the spray. Watch the drain while water flows. Water should move toward the drain without pooling in unintended areas.
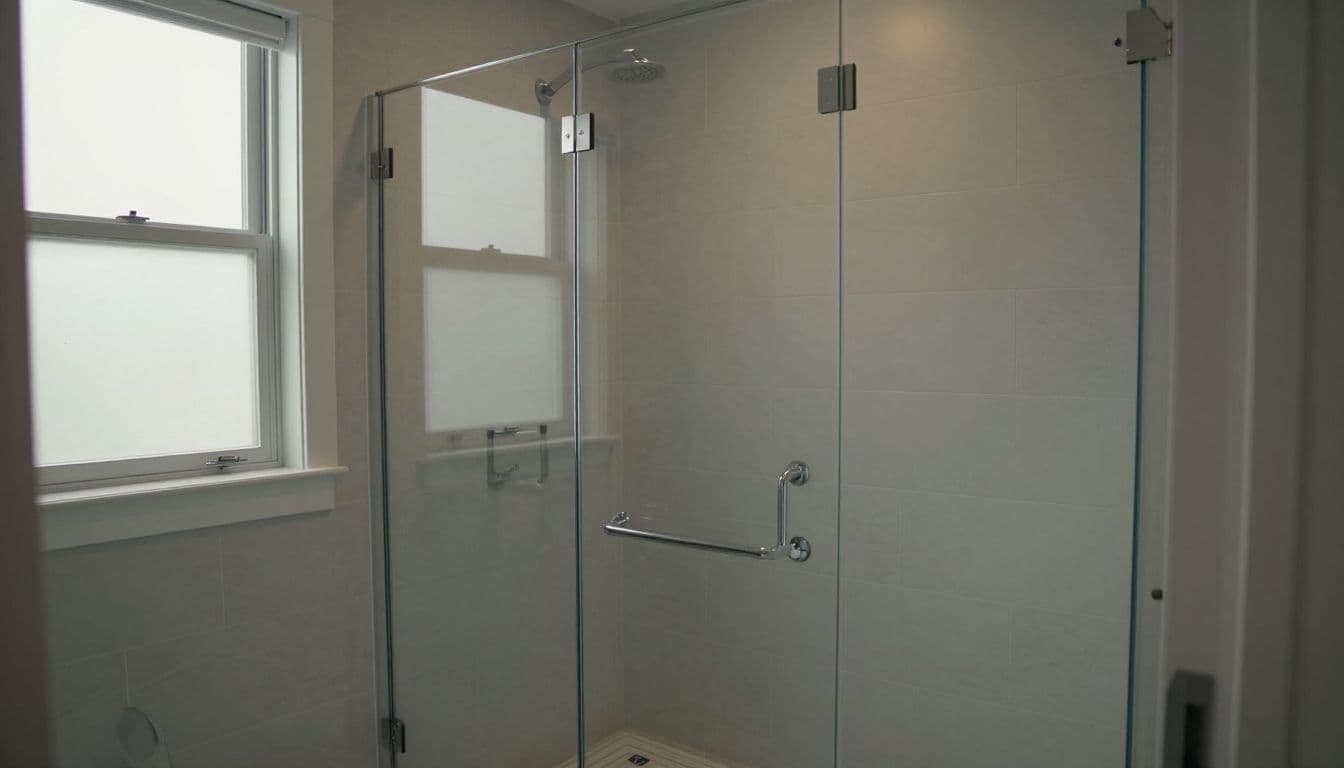
Check the shower door, hinges, handles, seals, and glass alignment. Operate the door several times and look for gaps that could allow water to escape. The caulk around the tub, shower base, vanity, and toilet should look continuous and neat.
Flush the toilet, operate the shutoff valve, and inspect the supply connection. Run the bathroom sink and look inside the vanity for moisture. Test exhaust fans, vanity lights, GFCI receptacles, heated floors, mirrors, and towel warmers when included in the plan.
Test Every System, Door, and Appliance
A room can look finished while a system still needs adjustment. During the remodeling final walkthrough, test the home's everyday functions instead of relying on visual inspection alone.
Turn on lights throughout the remodeled area and confirm that switches control the correct fixtures. Test smoke alarms and carbon monoxide alarms if the project affected their locations. Don't remove covers or touch exposed wiring. Report anything unsafe immediately.
Run water at multiple fixtures, then look beneath sinks and around supply lines. Check that drains empty properly and that no water appears around toilets, tubs, showers, or appliance connections. If a water heater or plumbing layout changed, ask the contractor to explain the new shutoffs.
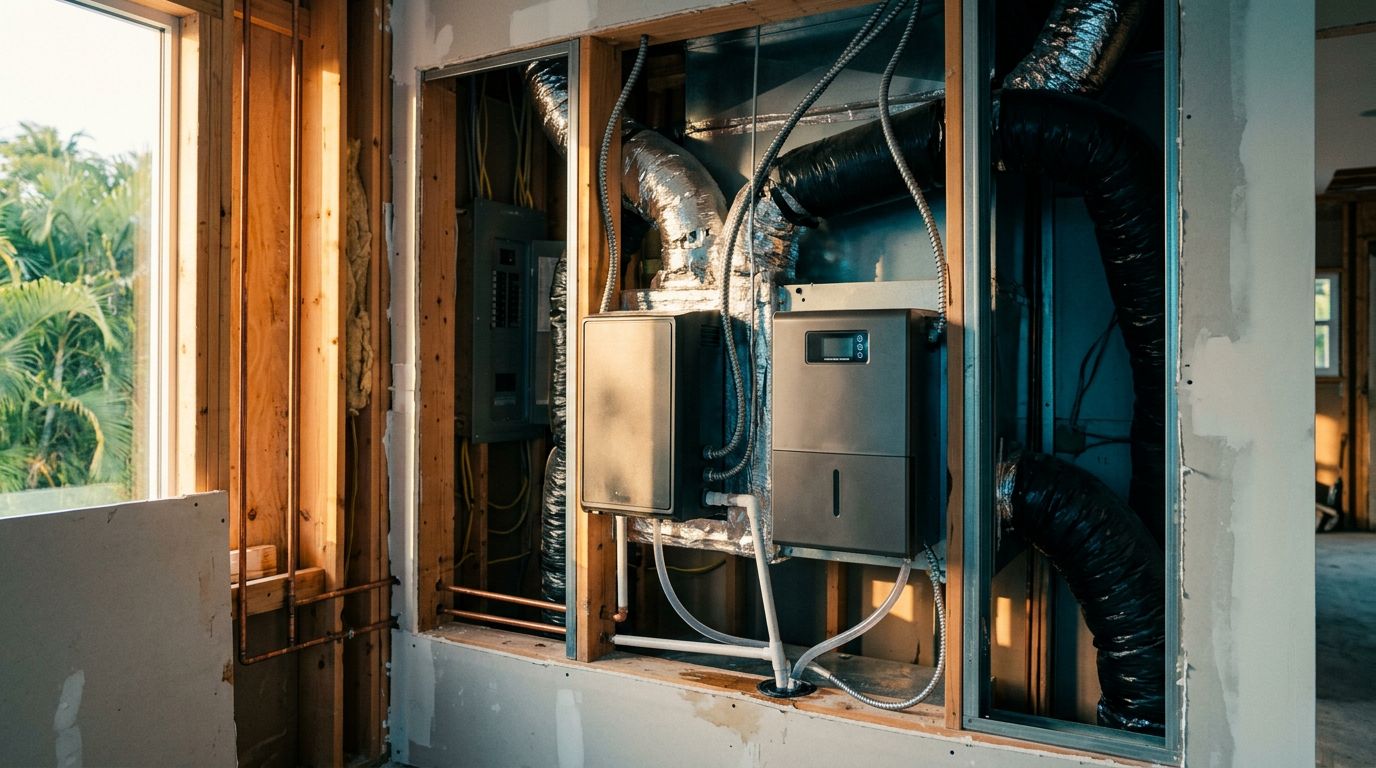
Set the thermostat to a reasonable temperature and confirm that the HVAC system responds. Check airflow at supplies and returns, listen for unusual sounds, and inspect the filter and condensate drain area. In Southwest Florida, proper air conditioning and humidity control matter as much as the room's appearance.
Open and close every new or adjusted door, window, cabinet, and drawer. Confirm that latches engage, locks work, screens fit, and doors don't scrape the floor. Inspect weatherstripping around exterior openings, especially when a remodel includes new windows or doors.
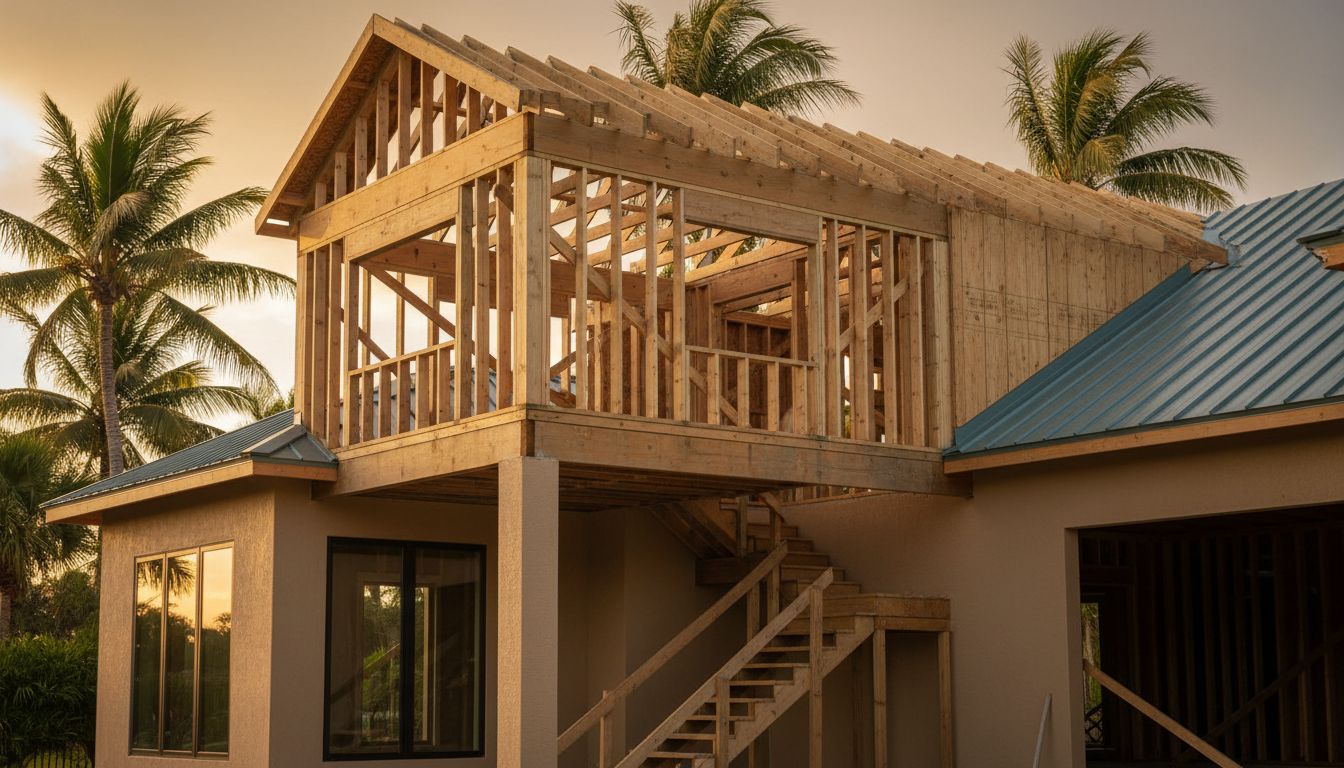
If the work included a room addition or custom home construction, expand the inspection beyond the finished room. Test exterior lighting, hose bibs, irrigation components affected by construction, garage doors, fans, and any smart-home controls included in your agreement.
A switch that works once hasn't passed inspection. Operate it several times, then test the fixture from each control point.
Inspect Finishes in Daylight and After Dark
Natural daylight can reveal uneven paint, surface scratches, poor drywall repairs, and inconsistent sheen. Open blinds and curtains during the walkthrough. Use a flashlight at a low angle across walls when you need to find ridges or sanding marks.
Look closely at transitions between materials. Flooring should meet tile, cabinets, thresholds, and baseboards without unsafe height changes or wide gaps. Trim joints should be tight, caulk lines should be clean, and paint should not cover hardware, hinges, outlets, or finished flooring.
Run your hand lightly over countertops, cabinet edges, handrails, and trim. The surfaces should feel complete and free from sharp edges, chips, adhesive residue, or rough patches. Examine mirrors, glass, doors, and polished fixtures for scratches before removing any protective film.
After sunset, turn on every interior and exterior light. Nighttime testing can reveal dark work areas, excessive glare, flickering fixtures, or a control that operates the wrong light. Ask for corrections while the lighting plan is still easy to adjust.
Construction cleanup includes more than sweeping. Check inside cabinets, appliance spaces, closets, drawers, mechanical areas, and the garage. Confirm that the contractor has removed debris, unused materials, labels, protective coverings, and temporary equipment that the contract assigns to the builder.
Create a Clear Punch List and Closeout File
Write down every concern before discussing solutions. Use one line per item and include the room, exact location, problem, photo number, and requested correction. A list such as "bathroom, shower curb, chipped tile near the glass door" is more useful than "fix bathroom tile."
Separate incomplete work from ordinary homeowner maintenance. A sticky cabinet drawer may need adjustment, while a dirty air filter after several months is normal upkeep. Ask the contractor to clarify any item that falls between those categories.
Review the punch list with the project manager or builder before anyone leaves. Agree on which items require correction, who will handle them, and when the follow-up visit will occur. Add approved changes to writing rather than relying on a conversation.
Collect the documents connected to the finished work. Your closeout file may include:
- Product manuals, care instructions, and warranty information.
- Paint colors, stain names, tile details, and replacement product information.
- Appliance serial numbers and service contacts.
- Electrical, plumbing, HVAC, and security information relevant to the remodel.
- Copies of permits, inspection records, and final approval documents when applicable.
Ask how the warranty process works and whom to contact if a finish fails, a fixture leaks, or an installed product needs service. For additions and custom homes, confirm that required municipal inspections are complete and that any certificate or approval required for occupancy has been addressed. The homeowner walkthrough does not replace official inspections.
A remodeling final walkthrough is complete when you have a written record of open items, a correction plan, and the documents needed to care for the finished space.
Check Southwest Florida Details Before Sign-Off
Florida's climate adds a few inspection points that homeowners shouldn't skip. Look at caulk and sealant around windows, doors, exterior penetrations, trim, and wet areas. Gaps may allow moisture or insects into places you can't easily see.
If the project includes a lanai, exterior door, window, or room addition, inspect screens, thresholds, flashing, drainage paths, and transitions between old and new construction. Ask whether storm shutters, impact-rated products, or other storm-related features included in the contract operate correctly.
Salt air affects coastal homes in places such as Naples, Fort Myers, Cape Coral, Punta Gorda, and Sanibel. Check exterior hardware and exposed fixtures for scratches, damaged finishes, or missing protective components.
After the first heavy rain, inspect the remodeled area and nearby exterior joints again. Look for unexpected water, staining, or drainage problems, then report concerns promptly while project records and warranties are active.
Conclusion
A final walkthrough protects the quality and usefulness of your investment. Check each surface, operate each fixture, test each system, document every correction, and collect the paperwork before the project closes.
The strongest walkthrough is calm and specific. When your checklist matches the approved plans and the contractor's closeout process, your new kitchen, bath, addition, or custom home can begin its next chapter with fewer unresolved details. For a future remodeling or construction project, Get a Free Estimate and discuss your plans with a local Southwest Florida building team.